

Adding multiple Vice systems to Retropie
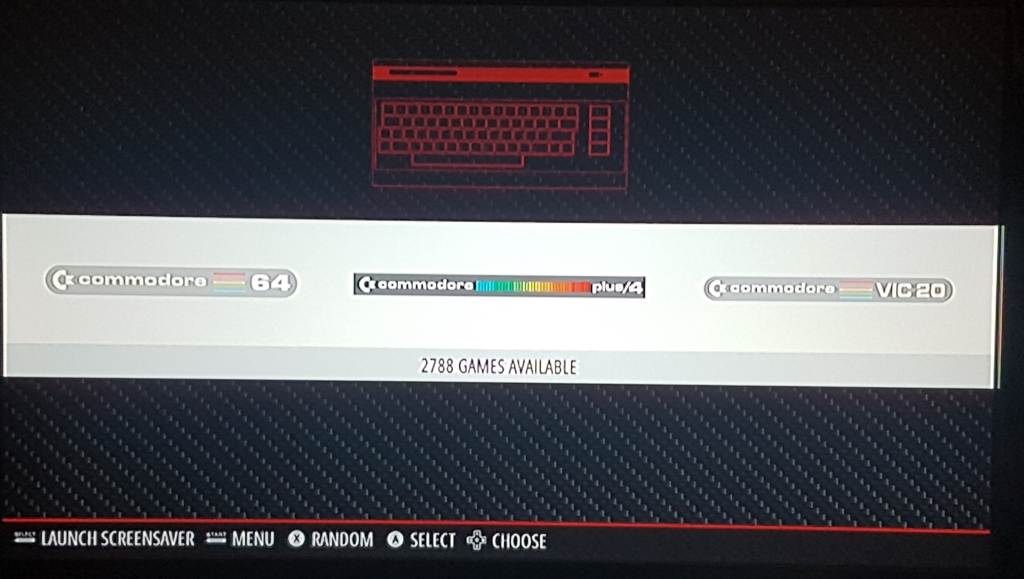
Retropie on the Raspberry Pi can be used to emulate many of our favourite retro gaming systems, including (what some would say is the best 8-bit machine, but not me) the Commodore 64. The emulation software used to emulate the C64 within Retropie is Vice.Vice can also emulate all of the Commodore 8-bit machines including (what I would say is the best 8-bit machine) the C16/Plus4, and also the Vic 20 and PET etc.However Retropie is only set up for the Commodore 64.So how do you get the other machines onto the main screen, like in the picture below?
There aren't any guides to explain how to do this available, so I had to figure it out on my own, and i'm now going to share with you how to get the Commodore C16/Plus4 and Vic 20 machines onto Retropie as separate systems.To make it easier to follow I've split this guide into four sections...1. Copy and edit the es_systems.cfg file to include the new systems in the menu2. Copy and then add the theme config and graphics for the menu3. Add the configuration files so Retropie sees multiple instances of Vice4. Add the ROM folders and games, then set it all up and playLuckily as we're adding an already an existing system to Retropie, it's a largely copy and paste exercise.A point to be aware of if you're wanting to use xplus4 (C16/Plus 4) emulation, is that by default, it runs very slow due to an option in the menu, changing the value fixes the problem. More on that later...
Section 1. Copy and edit the es_systems.cfg fileBoot up your Retropie and press F4, or use the exit option in the menu to exit from Emulation Station to the command line, this gets Emulation Station out of the way.You can either use the on-screen terminal if you have a keyboard attached, or you can SSH in and do it from your computer.If you've already modified your es_systems.cfg file, maybe to add Kodi as a separate system, then you've probably already copied it, so check first or you may undo your existing changes. Otherwise make a copy of the existing es_systems.cfg so you can edit it by using this command...
Then to edit it you can either use nano via SSH or on the device, or as it's now available in the SAMBA share, edit it on your PC...
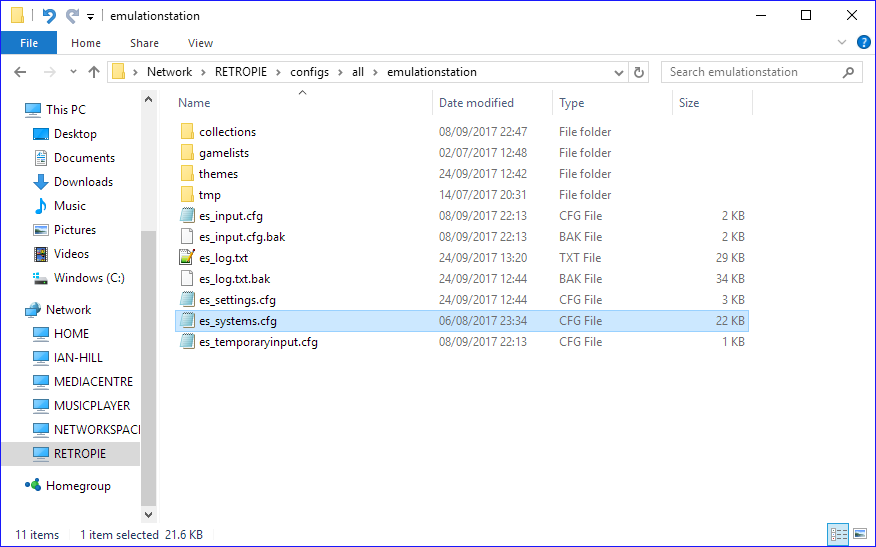
Protip: It's easier on your PC with Notepad++. You may get formatting errors with Windows Notepad due to the UNIX terminators.So, however you want to edit it, open it up and scroll down to the c64 entry...
Copy the whole c64 entry including both the <system> and </system> tags, then paste it underneath, one copy for each system you want.Now edit (or copy and paste) the values to match what i've put (I only wanted the C16/Plus4 and Vic20 systems)
The values should be self explanatory, path is just the path to the ROM folder, which we'll add later.Check it's correct, then save it to finish.
Section 2. Copy and edit the themeMuch as before, you need to copy the existing theme to another place before you edit it, otherwise your edits may be overwritten by updates.So go back to the terminal and run this command, which should all be on one line...
This creates a (renamed) copy that's available in the SAMBA share as with the es_systems.cfg file
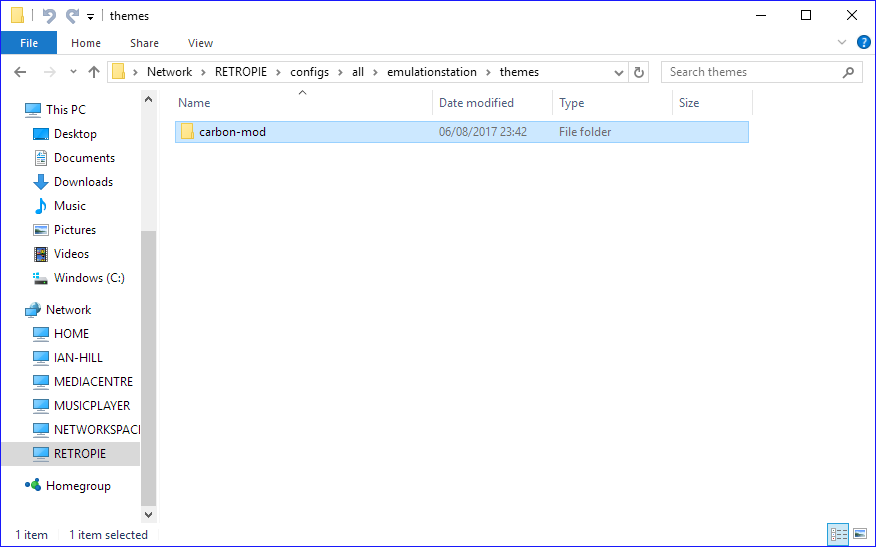
Open the carbon-mod folder and copy the c16 and vic20 folders from this archive into it...Note: This archive contains vector graphics that I found on the web a while ago, however I can't remember where I got them from, if they're yours then contact me for credit.One final step for the theme is to select it in Retropie, which we'll do later...
Section 3. Add the configuration filesGo back to the configs folder so you see this...
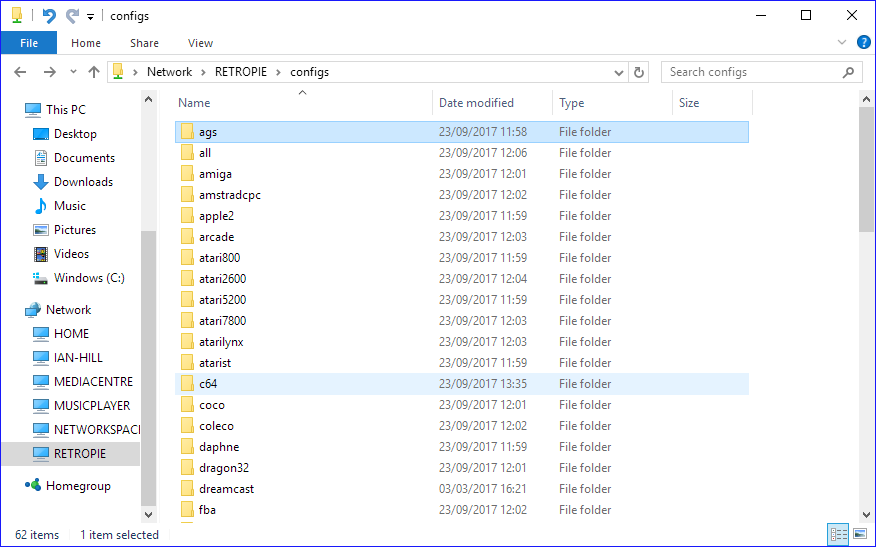
Copy the folders from this archive into it, this is just the c64 folder copied and renamed to c16 and vic20, this will allow multiple instances of Vice, so you don't have to keep switching the emulation from x64 to xplus4 to xvic and back again.
Section 4. Create the ROM folders and copy your games acrossGo to the folder where the ROMS are located...
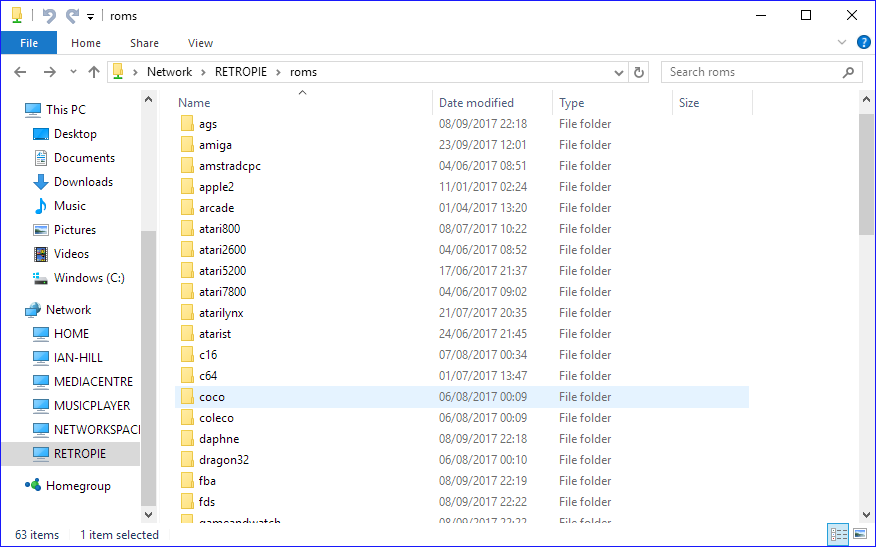
Create a c16 and a vic20 folder, then copy your games into them, you should be OK with this part.You can either reboot, or type emulationstation into the terminal on the device to restart Emulation Station.Once in Emulation Station, press Start on your controller to bring up the MAIN MENUThen select UI SETTINGS and scroll down to THEME SET. Press left or right on your controller to change it to CARBON-MOD
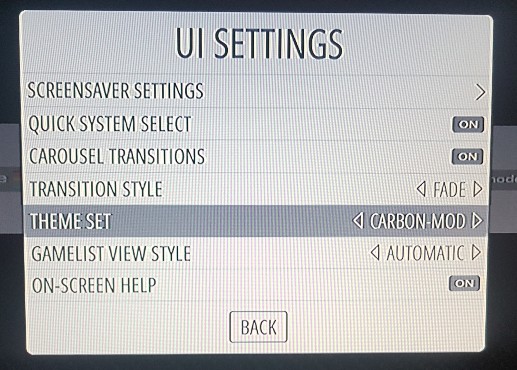
Select BACK (There'll be a short pause while the new skin is loaded to activate all the changes.)Next, you may have to tell Emulation Station which emulator to use for each system, you'll only have to do this once for each new system if you do...
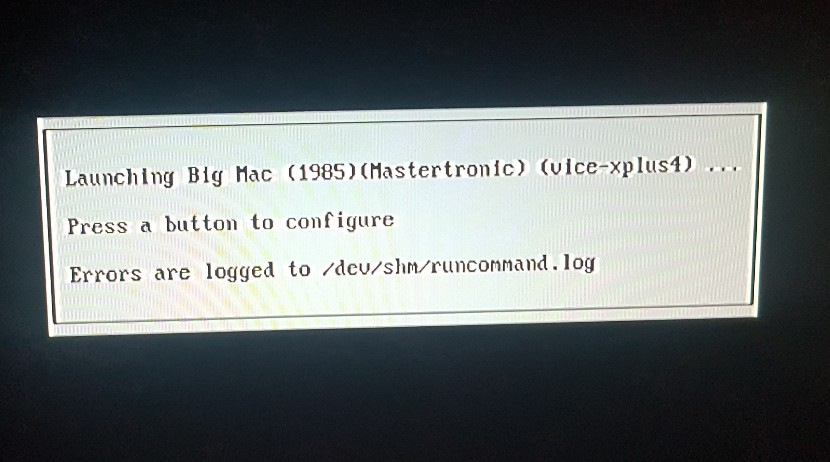
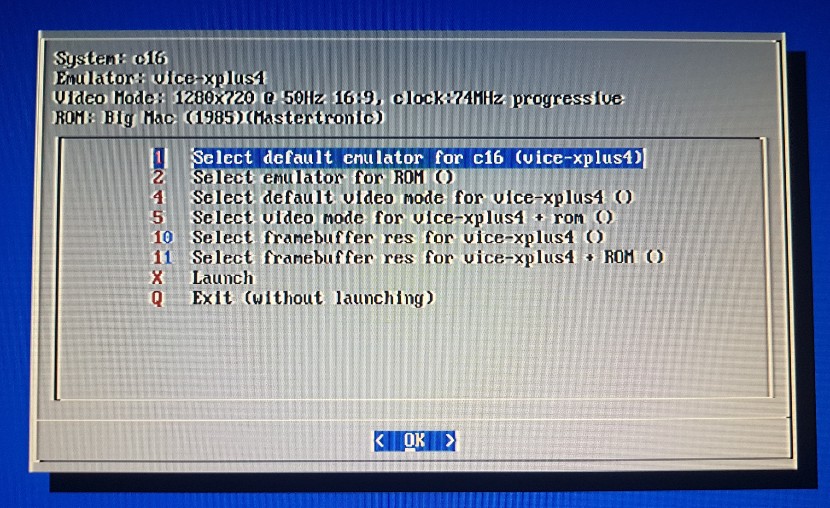
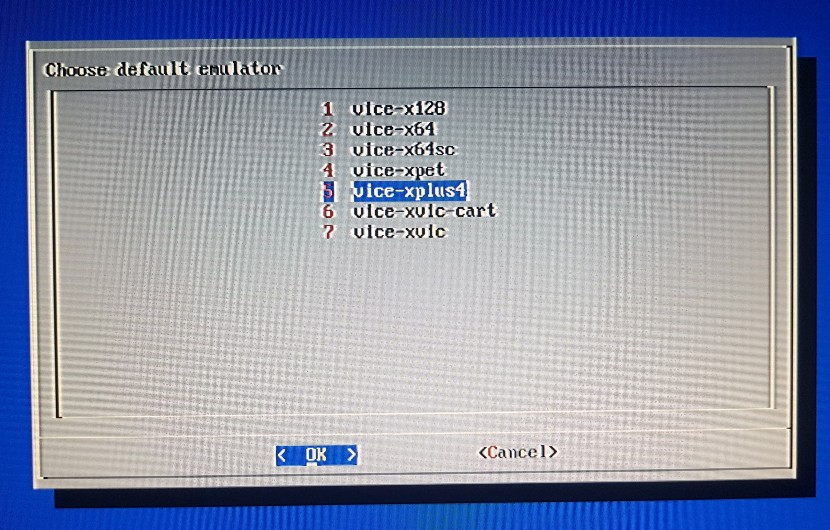
Start a game in your new system, (I used c16 here as an example)When the screen appears in the first image below, keep tapping buttons on your controller until the screen in image 2 appears, then select Select default emulator for c16 (or vic20), If it's on vice-x64 then change it to vice-xplus4 (or vice-xvic)
A Final note about xplus4By default xplus4 runs extremely slow, and the sound is all choppy, even on a Raspberry Pi 3. This is caused by, bizarrly, the wrong SID chip emulation selected.So to fix it...Launch a C16/Plus4 game, anything will doPress F12 to get into the Vice menuScroll down to Machine settings and select itScroll down to SID cart settings and select itScroll down to SID Model and select itChoose either 6581 (Fast SID) or 8580 (Fast SID) and select itThen use the Backspace key three times to exit back to the main Vice menuScroll down to Settings management and select itSelect Save current settingsSelect OK, then use the Backspace key twice to get back to your game at full speed.Quite why the SID emulation has anything to do with the C16/Plus 4 is a mystery to me, but there you go...Enjoy reliving your mis-spent youth!


